
January 1, 2026
⯀
19
min


An MVP is the simplest version of your product, designed to solve a specific problem and validate your idea with real users. Why does this matter? 42% of startups fail because they build products no one wants, and 44% fail because they run out of money. Starting small helps you avoid these pitfalls by focusing on what users actually need.
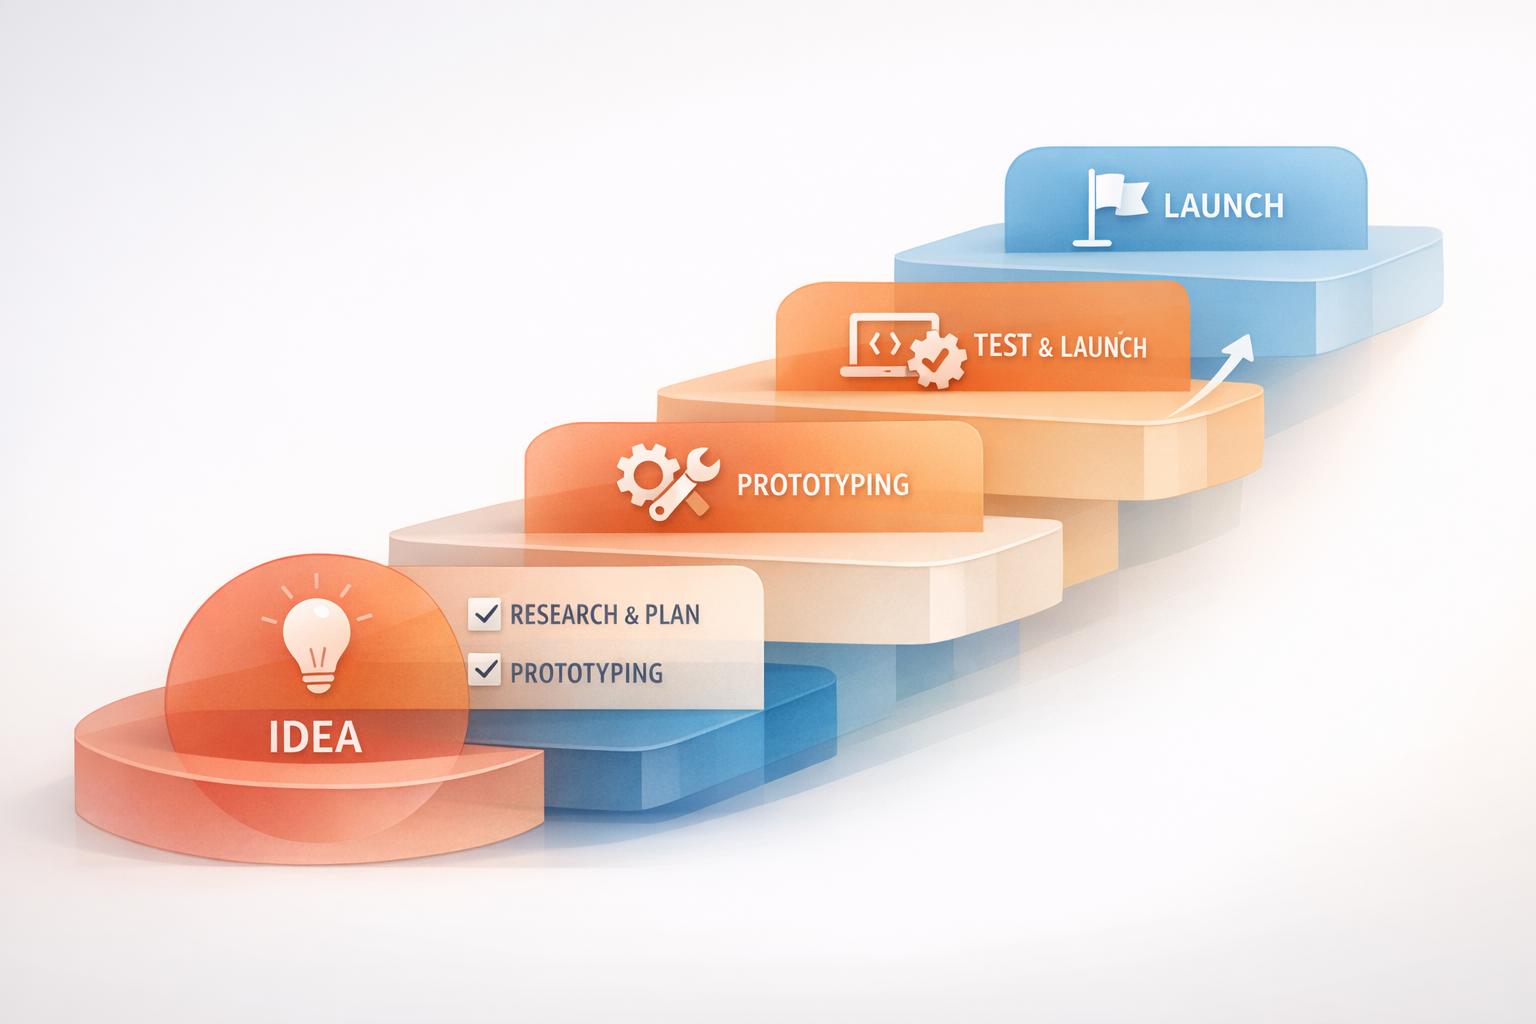
Here’s a quick breakdown of the MVP process:
Example: Dropbox started with just a 3-minute video to explain their concept, gaining 75,000 beta sign-ups overnight. Similarly, Zappos validated demand by selling shoes online without holding inventory.

7-Step MVP Development Process for Startups
Make sure your app addresses a real problem for real people. This is the key difference between successful MVPs and the 42% of startups that fail because their product has no market demand.
Start by identifying your target audience and the problem you’re solving. Don’t try to cater to everyone - 85% of 30,000 new product launches fail due to poor market segmentation. Instead, focus on a specific niche and build detailed user personas to guide your efforts.
Break your audience into categories based on geographic, demographic, psychographic, and behavioral factors. For example:
Keep in mind, the person buying your product may have different priorities than the person using it. Decision-makers might care more about ROI and business growth, whereas users focus on features and ease of use.
To better understand your users, map out their journey. Document their actions, goals, and challenges. A “Pain and Gain” map can help: list the problems users currently face alongside the benefits your MVP could bring.
"There is only one winning strategy. It is to carefully define the target market and direct a superior offering to that target market."
Once you have a clear picture of your audience, validate your assumptions with thorough market research.
Use both primary and secondary research to confirm demand for your idea. Primary research involves directly engaging with potential users through interviews, focus groups, or surveys. To get honest feedback, try “The Mom Test” method - it helps you avoid surface-level affirmations and dig into real user needs. You can also join Facebook groups, Reddit threads, or LinkedIn discussions where your target audience is active. Ask them about their biggest challenges and frustrations.
Secondary research involves studying existing data like industry reports, competitor case studies, and market trends. Read reviews of similar apps to uncover pain points and gaps your product could address. If you want to test demand without building anything, try creating a landing page MVP. Describe your product, and track sign-ups or clicks to measure interest.
After validating user demand, the next step is deciding what to build. This is where many founders stumble - they pack in too many features, thinking it adds value. But here’s the truth: 80% of features in most software products are rarely or never used. Your MVP (Minimum Viable Product) should focus on doing one thing exceptionally well, not trying to juggle ten things poorly.
Take Uber as an example. When it launched as "UberCab" in March 2010, it had a single purpose: connecting iPhone users with black-car drivers in San Francisco. This simple approach allowed them to confirm the core problem before expanding. Similarly, Spotify's first version in October 2008 was a basic desktop app designed to test if low-latency music streaming was possible. It didn’t include mobile support, social sharing, or personalized playlists - just the essentials.
The goal isn’t perfection; it’s about testing your riskiest assumptions as quickly as you can. Ask yourself: if a particular feature fails, does it jeopardize your entire business model? If the answer is yes, that feature belongs in your MVP. With your idea validated, zero in on features that directly solve your users’ main problem.
"If you are not embarrassed by the first version of your product, you've launched too late."
- Reid Hoffman, Co-founder, LinkedIn
The MoSCoW method is a straightforward way to figure out what’s essential. It stands for Must-have, Should-have, Could-have, and Won’t-have. Must-have features are non-negotiable for your MVP’s functionality. For instance, a ride-sharing app must allow users to book rides, while features like driver ratings might fall under the should-have category.
To apply this method, list all potential features and categorize them as Must-have, Should-have, Could-have, or Won’t-have. This exercise forces you to focus on features with high value and low effort. A great example is Upwork, which noticed low mobile engagement. They launched an MVP for their Applicant Tracking System with just two key features - filtering and messaging. The result? Faster hiring and a more streamlined user experience.
Eliminating unnecessary features is critical. Today, 91.3% of companies launch with an MVP model to avoid wasting resources on features no one needs. Every extra feature adds time, cost, and complexity to development.
Stick to the 80/20 rule: focus on the core 80% of use cases that most users will encounter, not the 20% of edge cases. If a feature can be handled manually in the beginning, leave it out of your MVP. For standard functionalities like authentication, consider using third-party tools like Auth0 to save time and effort.
Walk through your user journey step by step. Identify the bare minimum actions a user must take to solve their problem, and only include features that directly support that flow. If a feature doesn’t contribute to delivering your core value, it has no place in your MVP.
"The sooner you get to the feedback loop, the sooner you can give users what they actually want."
- Marko Strizic, CEO, DECODE
Focus on one to three core features for your initial release. This keeps your team aligned, your budget in check, and your timeline manageable - most MVPs are built within 8 to 16 weeks. By narrowing your scope, you’ll set a strong foundation for the design and prototyping phases of your MVP journey.
Now that you've nailed down your core features, it's time to bring your product to life visually. This step - design and prototyping - bridges your idea and actual development. The aim here isn't perfection; you're building a basic, functional version that users can interact with. Think of it as a test run to ensure your product's flow feels natural and intuitive for users.
Why does this matter? A well-designed user interface can increase conversion rates by up to 200% and generate a $100 return for every $1 spent. Your prototype is your first chance to see if users can navigate your product without confusion. And with over 80% of mobile apps abandoned after just one use, getting this right is critical.
Start by focusing on the most important action a user needs to take to find value in your product. Then, design a flow that lets them complete that action in under 60 seconds. Map out the user journey from start to finish, considering every step, tap, or decision along the way.
Begin with low-fidelity wireframes - basic, grayscale layouts that outline the structure and navigation without worrying about aesthetics. These are quick to create and easy to tweak. Once you're confident in the structure, move on to mockups, which are more polished, incorporating your brand's colors, fonts, and logos. Finally, build an interactive prototype that users can click through. Tools like Figma make it easy to create these prototypes without any coding.
Costs for designing basic MVP features like a home screen, user profiles, and registration typically range from $5,000 to $15,000. Adding extra screens can cost around $500 per screen, while new features might set you back at least $1,000 each, depending on their complexity.
Your prototype isn't complete until real users have tested it. Usability testing helps uncover flaws, navigation hiccups, and user experience bottlenecks that your team might have overlooked. This process reduces the risk of users finding your product frustrating or hard to use.
Start with an internal test run to ensure everything works as planned and that your data collection tools are functioning properly. Then, bring in small groups of users to test the prototype. Analyze their feedback, fix critical issues, and repeat the process with the next group. Combine qualitative feedback (through interviews) with quantitative data (like task completion rates and error counts) for a complete picture. You can also use tools like heatmaps and clickmaps to identify problem areas in user behavior that might not come up in direct feedback.
This ongoing refinement ensures that the "viable" aspect of your MVP is solid before you move on to full-scale development.
At Dots Mobile, we apply these methods to create prototypes that are ready for real-world testing. Once your prototype is validated, you're ready to choose the right tech stack and build your development team.
With your prototype validated, it’s time to focus on two key areas: your technology stack and your development team. These decisions will shape your app’s development speed, cost, and ability to grow.
Your goal is to strike the right balance between speed and stability. Choose tools that allow for a quick launch but can also support scaling as your product gains traction. The tech stack typically includes four main elements: frontend (user interface), backend (server logic and data), platform (iOS, Android, or web), and hosting (where your app resides). This foundation is critical to turning your prototype into a functional, scalable product.
First, decide on the platform for your app. Mobile apps generally have two options: native development (separate apps for iOS and Android) or cross-platform frameworks like React Native or Flutter. For MVPs, cross-platform frameworks are often the better choice. They allow you to maintain a single codebase for both platforms, cutting development time and costs by up to 50%.
| Feature | Native (Swift/Kotlin) | Cross-Platform (React Native/Flutter) |
|---|---|---|
| Time-to-Market | Slower (two codebases) | Faster (single codebase) |
| Cost | Higher (specialized teams) | Lower (up to 50% savings) |
| Performance | Excellent/Optimized | Good (near-native) |
| Maintenance | Complex (separate updates) | Easier (unified updates) |
For backend development, consider tools like Node.js or Django for their speed and scalability. Ensure compliance with regulations like GDPR or HIPAA from the start. When it comes to databases, PostgreSQL is a great choice for structured data, while MongoDB provides flexibility for quick iterations.
Select technologies that your team is already familiar with to avoid delays. For instance, if you’re building a fitness app requiring real-time data syncing or a beauty app with image processing capabilities, ensure your stack can handle those needs without adding unnecessary complexity.
Your team is just as important as your tech stack. For an MVP, keep the team lean but effective. At a minimum, you’ll need UI/UX designers, mobile developers (iOS/Android), backend developers, and QA specialists. A typical setup might include one or two full-stack developers, a designer, and a QA engineer.
| Role | Key Responsibilities | Essential Skills |
|---|---|---|
| UI/UX Designer | User journey mapping, prototyping | Design thinking, Figma, usability testing |
| Backend Developer | API integration, database management | Node.js, PostgreSQL, cloud infrastructure |
| Mobile Developer | Client-side app development | React Native, Flutter, Swift, or Kotlin |
| QA Engineer | Functional and automated testing | Bug tracking, CI/CD, automation tools |
When sourcing talent, you have three main options: an in-house team, freelancers, or a development agency. Freelancers are cost-effective, with rates ranging from $25 to $150 per hour depending on location. On the other hand, agencies provide a cohesive team with integrated QA and strategic guidance. For example, at Dots Mobile, we use tools like Swift, Kotlin, Python, and React Native to deliver scalable MVPs, covering everything from UI/UX design to backend development and quality assurance.
Look for team members experienced in Agile methodologies like Scrum or Kanban. This allows for short, two-week sprints and quick iterations based on user feedback. Additionally, ensure your team sets up Continuous Integration and Continuous Deployment (CI/CD) pipelines from day one to automate testing and catch bugs early.
"The only way to win is to learn faster than anyone else"
- Eric Ries, author of The Lean Startup
Once you've chosen your tech stack and assembled your team, it's time to build and test your MVP. The focus here is to create a stable, functional product that addresses core user needs. To achieve this, stick to iterative development and continuous testing, guided by Agile principles. This disciplined approach keeps your team aligned and on track.
Work in two-week sprints that deliver functional increments of your product. This sprint-based approach ensures your team targets specific features, avoiding the trap of endless development cycles. To maintain momentum, hold daily standups to review progress and tackle any blockers.
At the end of each sprint, conduct a sprint review to showcase completed features to stakeholders and gather their feedback. Follow this with a retrospective, where your team discusses what went well and what could improve. These retrospectives are vital for identifying actionable improvements quickly. It's no surprise that 81% of Agile teams use Scrum or a Scrum hybrid - this continuous feedback loop is a game-changer.
From day one, establish a CI/CD pipeline to automate testing and deployment. This ensures every code change is validated across devices and operating systems. Automated testing catches bugs early, saving time and money down the line. For mobile apps, be sure to test under different network conditions - users on 3G should experience the same stability as those on Wi-Fi.
This methodical process naturally transitions into rigorous quality assurance.
Quality assurance (QA) should be an integral part of each sprint. Incorporate unit tests, integration tests, and regression tests throughout development. Poor reliability or slow loading times are major reasons why over 80% of apps are abandoned after just one use.
Plan to allocate 10% to 20% of your MVP budget to QA, which typically costs between $1,500 and $30,000 depending on the app's complexity. This investment is worth it: a well-designed interface can boost conversion rates by up to 200%, and every $1 spent on user experience can yield an average return of $100. Before launching to a larger audience, run a beta test with a small group of target users - just 5 to 7 participants can uncover most usability issues. Track key metrics like app crashes, session lengths, and retention rates to gauge the effectiveness of your QA efforts.
Your MVP should not only function reliably but also load quickly. Test both functional requirements (e.g., ensuring the login works) and non-functional requirements (e.g., loading in under 3 seconds). While automated tests are essential, supplement them with manual testing to address real-world scenarios.
At Dots Mobile, we apply these Agile principles and rigorous QA processes to every project, ensuring that our mobile app MVPs are dependable, efficient, and ready to meet user expectations.
Once development and testing are complete, it’s time to introduce your MVP to the world - but start small. A soft launch allows you to debut your product to a limited segment of your target audience. This approach helps validate product-market fit and gather early feedback while keeping exposure manageable during this initial stage. For best results, aim for a niche audience size of 1,000 to 100,000 people - big enough to collect meaningful data but small enough to stay focused.
Before launching, build anticipation on platforms like Reddit and Product Hunt to attract beta testers and early adopters. Be upfront with your testers - make sure they know they’re using an early version so their expectations align with your MVP’s current capabilities. Using an invite-only model can help you control growth and maintain a more curated experience.
Prepare for user engagement by setting up FAQs, community forums, and live chat support. These resources provide immediate assistance and foster a sense of community among your early users. Treat this group as your core advocates - listen to their feedback, show appreciation for their input, and nurture their loyalty. These early supporters can become your product’s biggest champions.
Once the soft launch is underway, shift your focus to analyzing user behavior. Use tools like Google Analytics, Mixpanel, or Hotjar to track how users interact with your product. Pay attention to key metrics such as Daily Active Users (DAU), Monthly Active Users (MAU), retention rate, and churn rate. These numbers will tell you if users are finding value in your product and whether they’re coming back for more. Avoid getting distracted by vanity metrics like total downloads; instead, focus on actionable data. For instance, measure Time to Value (TTV) - how quickly users experience your product’s core benefit. A long TTV can lead to higher churn rates and missed opportunities.
To complement your analytics, establish a feedback loop with in-app surveys, feedback forms, and user interviews. Combine the hard data from analytics with qualitative insights from conversations to get a well-rounded picture of user behavior. When conducting interviews, ask open-ended questions and avoid leading users toward specific answers. Look for recurring patterns in the feedback to separate meaningful insights from random noise.
At Dots Mobile, we specialize in helping clients set up robust analytics and feedback systems from day one. This ensures they have the tools needed to refine their MVP and prepare for the next stage of development.
After your soft launch, the next step is turning user data into meaningful insights. To do this effectively, you’ll need to set clear Key Performance Indicators (KPIs) that align with your business objectives. These metrics will help you determine whether you’re on the right path or if adjustments are necessary.
Your KPIs should capture both how users interact with your product and whether the business model is sustainable. For user engagement, focus on metrics like Daily Active Users (DAU) and Monthly Active Users (MAU) - these will show if people are consistently finding value in your product. Keep a close eye on retention rates to measure repeat usage, while also tracking churn rate to see how many users stop engaging altogether. Considering that over 80% of mobile apps are abandoned after just one use, retention is a key indicator of success.
On the financial side, calculate Customer Lifetime Value (CLV) to understand the revenue potential from each user. Compare this with Customer Acquisition Cost (CAC) to ensure your business model can sustain growth. Another critical metric is Time to Value (TTV) - how quickly users experience your product’s main benefit. A long TTV can lead to higher churn and missed opportunities. Additionally, use tools like Net Promoter Score (NPS) and direct user feedback to measure how likely users are to recommend your product to others.
"The only way to win is to learn faster than anyone else." - Eric Ries, Author of The Lean Startup
To get the full picture, balance these quantitative metrics - like DAU, MAU, churn, CLV, CAC, and TTV - with qualitative insights from user feedback. While the numbers reveal what’s happening, user conversations help you understand why. Armed with this information, you’ll know when your MVP is ready to move forward.
When your metrics show steady growth and confirm product-market fit, it’s time to scale. Transitioning from an MVP to a fully developed product involves addressing technical debt, strengthening your system architecture, and expanding features based on user validation.
At Dots Mobile, we specialize in helping startups grow their MVPs into complete, market-ready products. Whether it’s refining your UI/UX design based on feedback or building a reliable backend using technologies like Python and Swift, we ensure your product is ready to handle growth. Our expertise spans mobile app development for iOS and Android, App Store optimization, and quality assurance. This approach ensures your product scales effectively, meeting both user expectations and business goals.
Launching an MVP is all about prioritizing learning and adaptability over chasing perfection. The seven-step process we've outlined offers a solid roadmap to validate your idea, focus on what truly matters, and steer clear of the common pitfalls - like the lack of market need - that cause 42% of startups to fail. By emphasizing detailed research, trimming unnecessary features, and building a feedback loop, you set yourself up to create something people genuinely want. And this isn’t just theory - it’s backed by real-world data.
For example, 91.3% of companies now rely on an MVP model to speed up their time-to-market and avoid wasting resources on features users won’t even use. Consider this: 80% of features in a typical software product are rarely or never touched. That’s why sticking to a disciplined, focused approach ensures your resources are invested where they count.
Your first version won’t be perfect - and that’s okay. What matters is speed and the ability to learn and adapt as you go.
No matter the size of your budget, the core principles remain the same: test your assumptions early, track meaningful metrics, and let user feedback shape your next steps. This structured approach transforms raw ideas into market-ready products, using iterative improvements to refine and grow.
At Dots Mobile, these principles are at the heart of what we do. Whether you're a startup or an established business, we guide you through every stage of the journey - from initial wireframes to full-scale product launches. Our expertise spans mobile app development for iOS and Android, with a focus on UI/UX design, backend development, and rigorous quality assurance. If you’re ready to validate your idea and bring it to life, our team is here to help you execute every step with precision. Let’s turn your vision into reality.
When working on a Minimum Viable Product (MVP), steering clear of common mistakes can make all the difference. Here are a few missteps to avoid:
By keeping your approach focused and listening to your users, you’ll be better positioned to create an MVP that resonates and delivers real value.
To figure out what features your MVP really needs, begin by pinpointing the main problem your product is designed to solve. This problem statement will serve as your compass, keeping your decisions on track. Once that's clear, list every possible feature you can think of - don’t hold back. Afterward, rank these features based on how effectively they tackle the core problem. Prioritize the ones that deliver the most value with the least effort, and put aside any ideas that require a lot of work but offer little return for now. The goal is to focus on the smallest set of features necessary to test your solution with actual users.
If you’re feeling stuck, Dots Mobile can assist in prioritizing and building an MVP that aligns with your goals, making sure your product zeroes in on what’s most important for market validation.
Collecting user feedback during the MVP phase is a game-changer when it comes to refining your product and making sure it addresses real-world problems. One effective way to start is by running usability tests with your early adopters. Watch how they interact with your MVP, ask open-ended questions, and pay close attention to any hurdles they encounter. These observations often highlight areas that need improvement.
Another great approach is to gather feedback directly within your app. Use in-app surveys or prompt users for quick ratings after they complete important actions. This method provides valuable data you can analyze for patterns and trends. On top of that, tools like heatmaps and session replays can give you a behind-the-scenes look at user behavior, uncovering friction points they might not even mention. By combining these techniques, you’ll get a comprehensive view of how your MVP is performing and where it could be fine-tuned.


